Removal and Replacement
Timing in degree - crank angle, with 2 mm valve lift:

NOTE: Pay attention to the association of camshaft code number relative to the respective engine (see table). The camshaft bearing journals can be ground, repair stage camshaft bearings are available. Procedures
If a camshaft needs to be replaced, it is necessary to replace the corresponding rocker arms as well.
The camshaft bearings of the engines 116.96 and 117.96 may be used on the cast iron engines 116.98 and 117.98.
Removal:
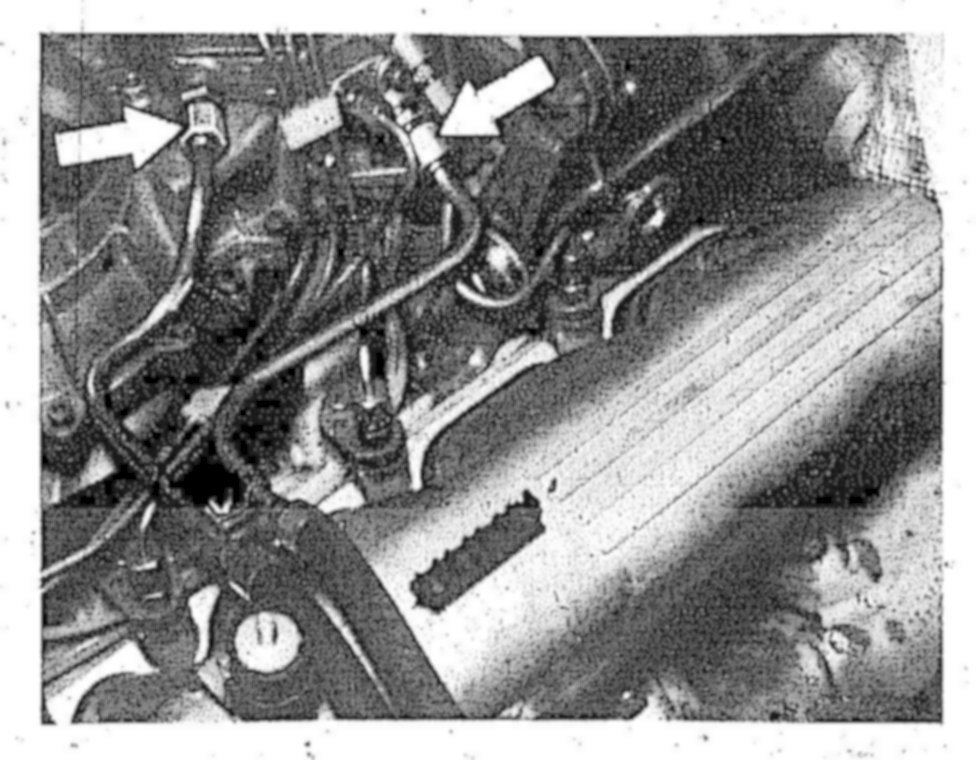
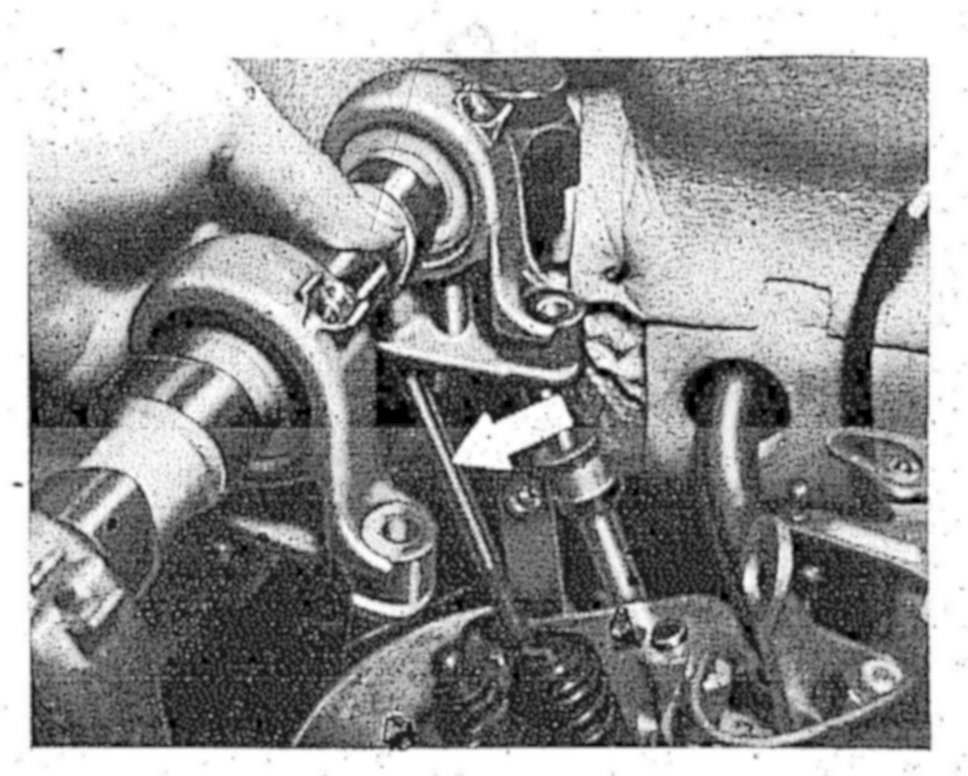
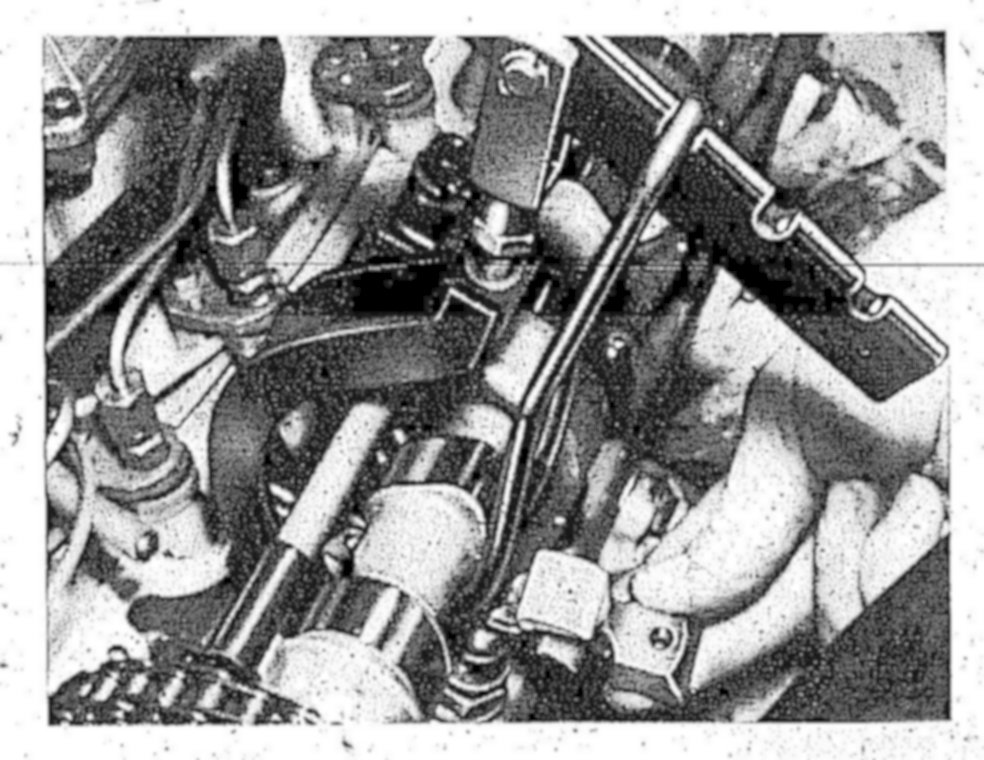
1 Remove cylinder head cover.
For this purpose disconnect fuel lines on left-hand cylinder head cover (arrows).
2 Disconnect relay for fuel pump so that no fuel runs out of fuel line when the engine is cranked with the starter motor.
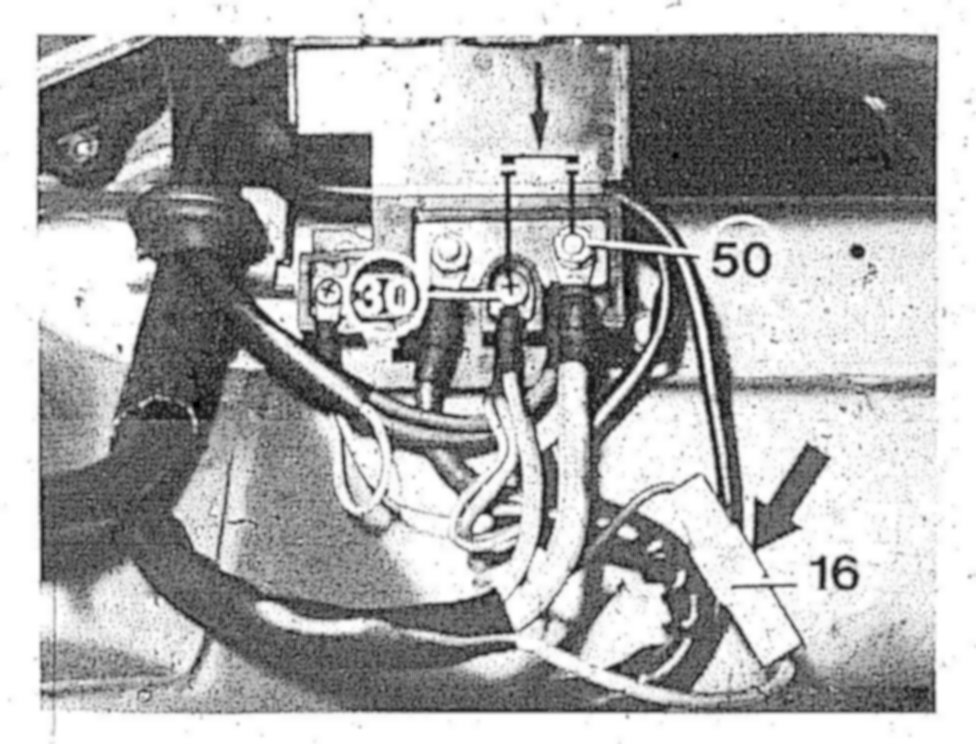
3 The engine can be rotated by connecting terminals 30 and 50 so that the respective cam tip is in an upward position for removing the rocker arms. For this purpose disconnect terminal 16 (arrow).
4 Remove rocker arm by means of the spring compressor.
CAUTION: If rocker arms and camshafts are not replaced, reinstall them in the same position as before as failure to do so would require checking of the basic position of the hydraulic valve clearance compensating elements. Service and Repair
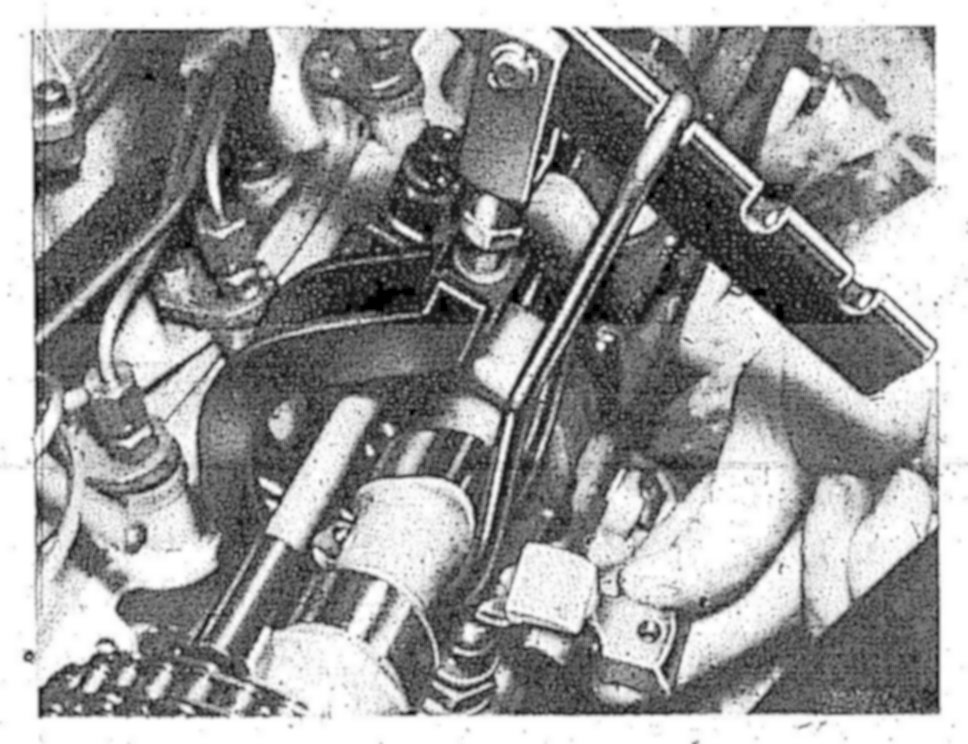
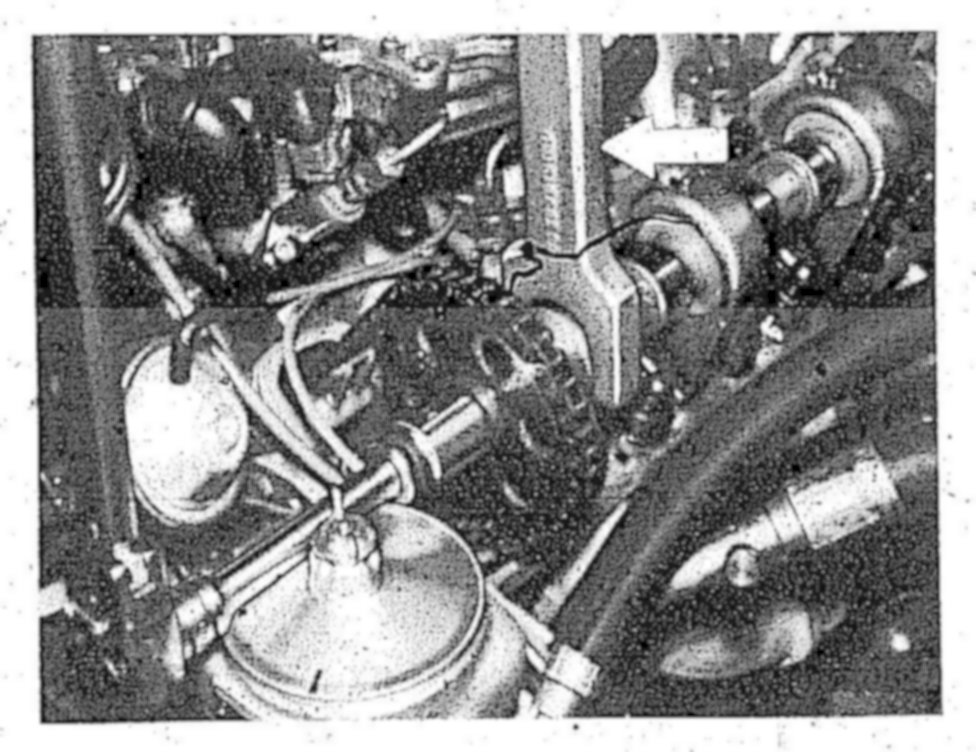
5 Set piston of No. 1 cylinder to ignition TDC, so that the Woodruff key in the camshaft (arrow) points up.
NOTE: Do not rotate engine on fastening bolt of camshaft sprockets.
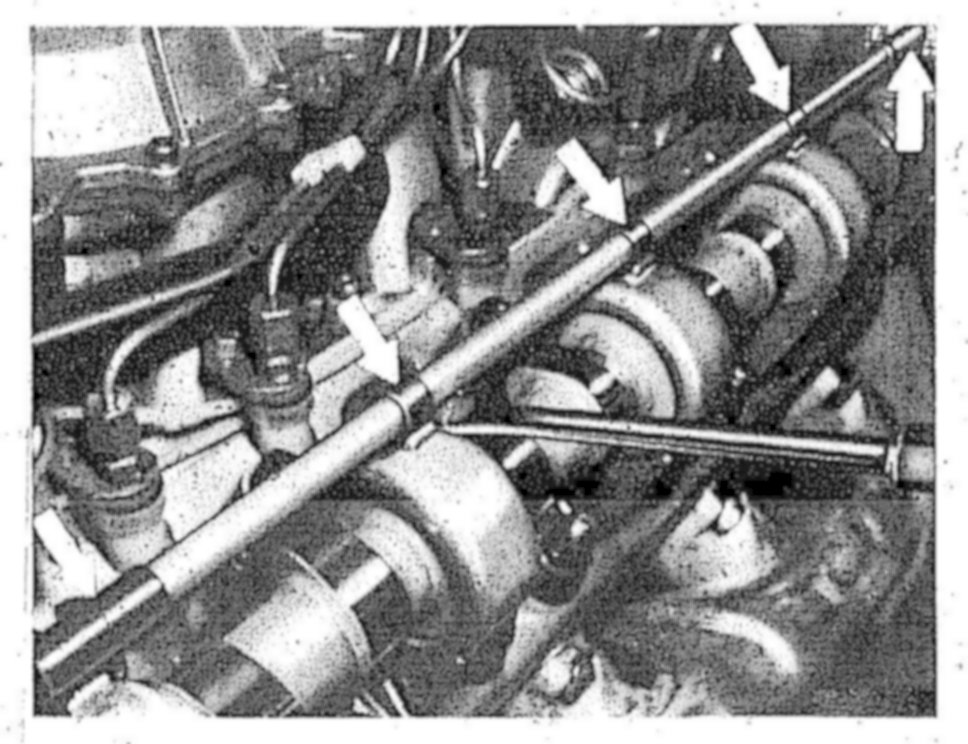
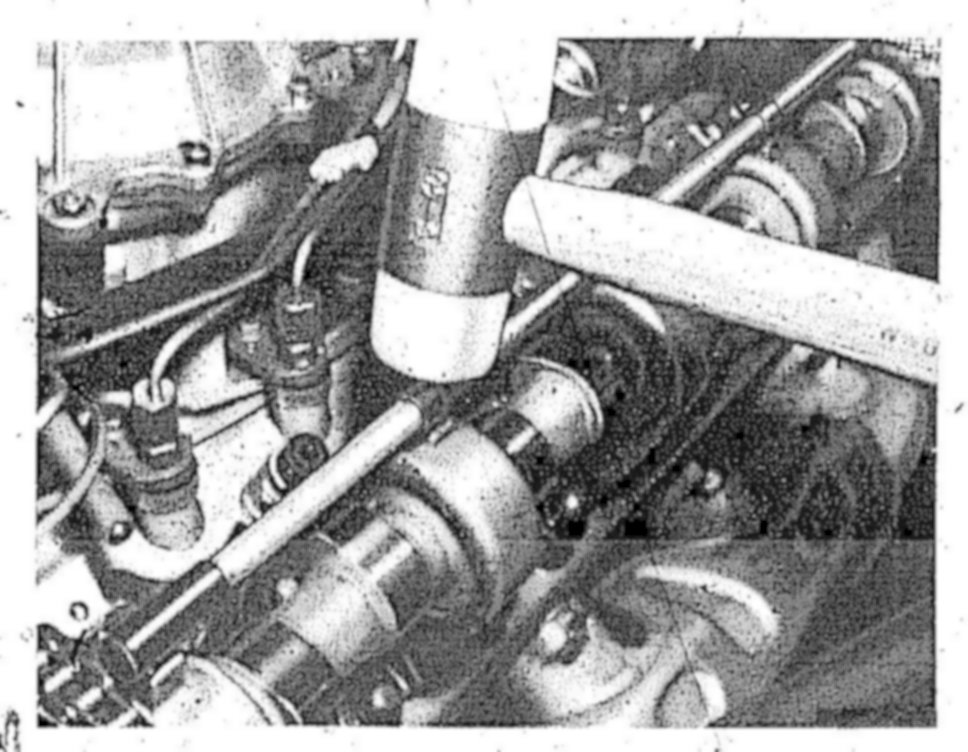
6 Prise off oil pipe with connections (arrows) and remove.
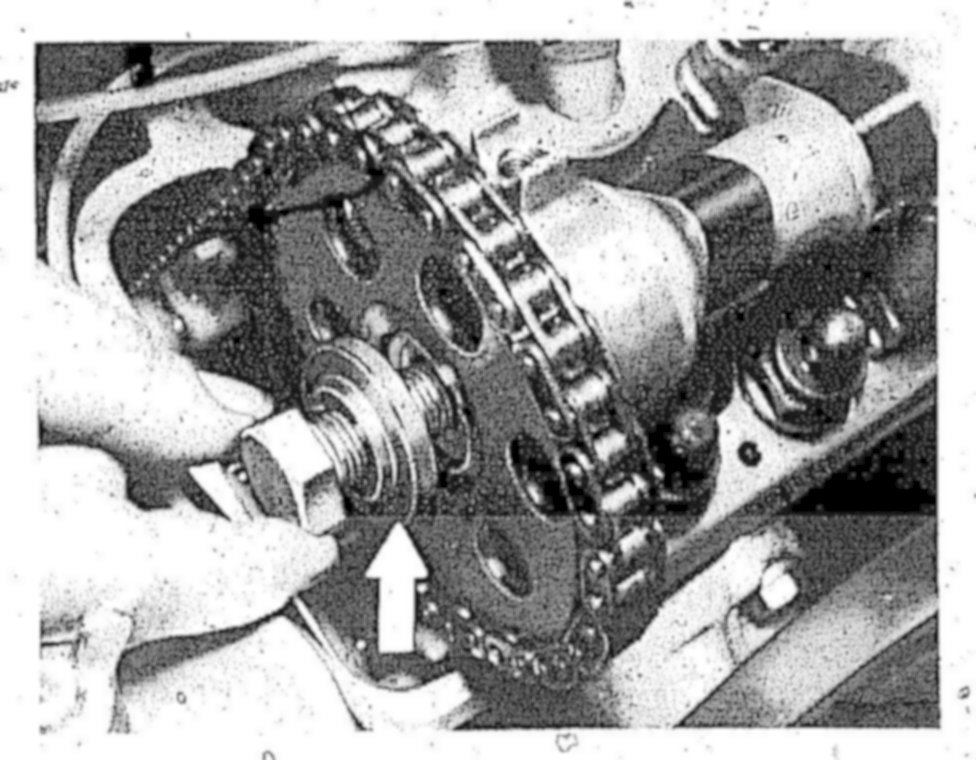
7 Mark timing chain and camshaft sprocket together with locking compound (arrows).
8 Loosen bolt on camshaft sprocket while holding it with the retaining wrench.

9 Unscrew camshaft bearing screws and remove.
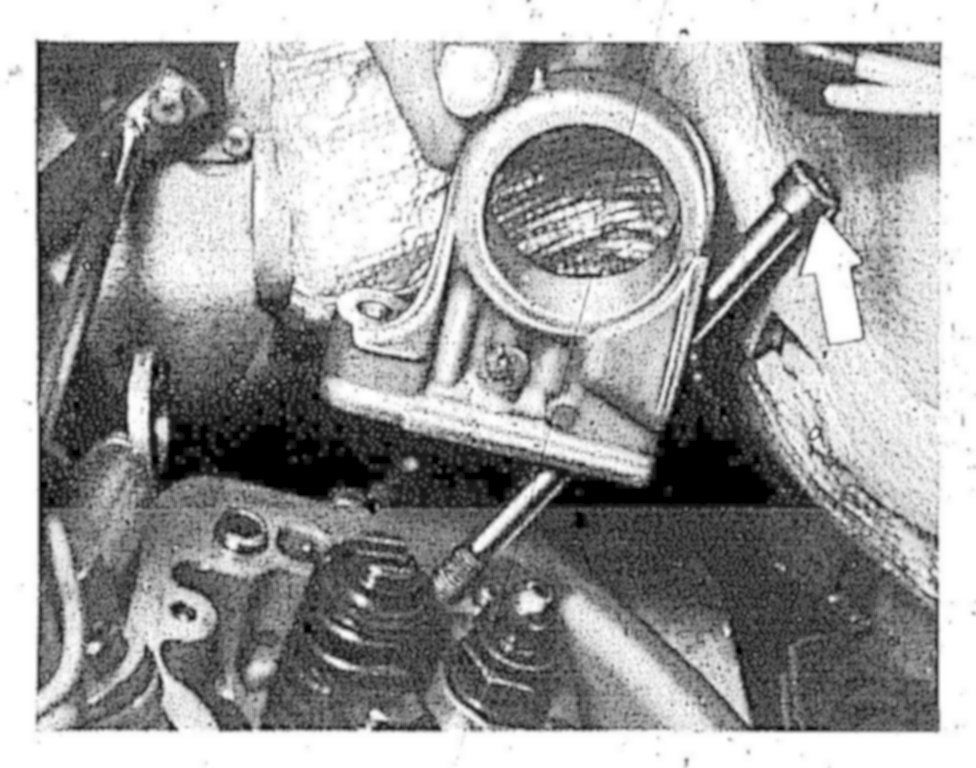
NOTE: The rear cylinder head bolts M 10 x 165 mm (arrow) at left and right can be removed only after the camshaft bearing has been lifted.
10 Lift camshaft including camshaft bearings and pull camshaft out of rear camshaft bearing.
Installation:
11 Lubricate camshaft bearings and slide camshaft into camshaft bearings.
CAUTION: Introduce cylinder head bolts M 10 x 165 mm (arrow) at the rear camshaft bearing left and Tight before mounting the camshaft bearing.
12 Lubricate cylinder head bolt threads and head contact area.
13 Mount camshafts with camshaft bearings.
14 Tighten cylinder head bolts M 10 x 165 for camshaft bearings from inside out first to 30 Nm initial torque and then to 60 Nm final torque.
15 Tighten fastening bolts M 8 to 50 Nm.
CAUTION: The camshaft should turn easily by hand.
16 When mounting the oil pipes, move Connections into assembly position and check the three inside connections for unobstructed passage of oil bores prior to topping them onto the camshaft bearings, Replace oil pips if oil bores are covered up.
CAUTION: Replace connections each time following removal from camshaft bearings since otherwise the oil pressure in the oil pipe is not assured.
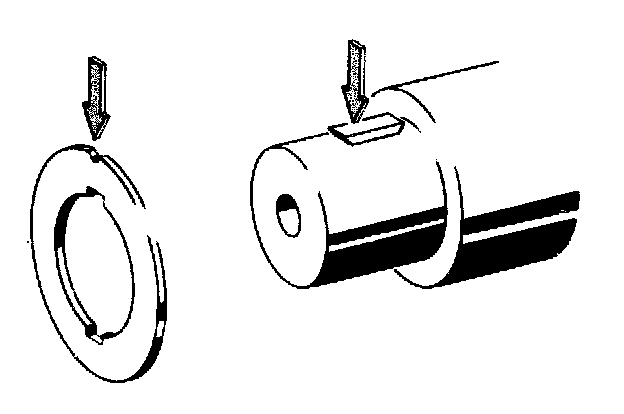
17 Mount compensating washer in such a manner that the groove below the notch engages with the Woodruff key of the camshaft (see arrows).
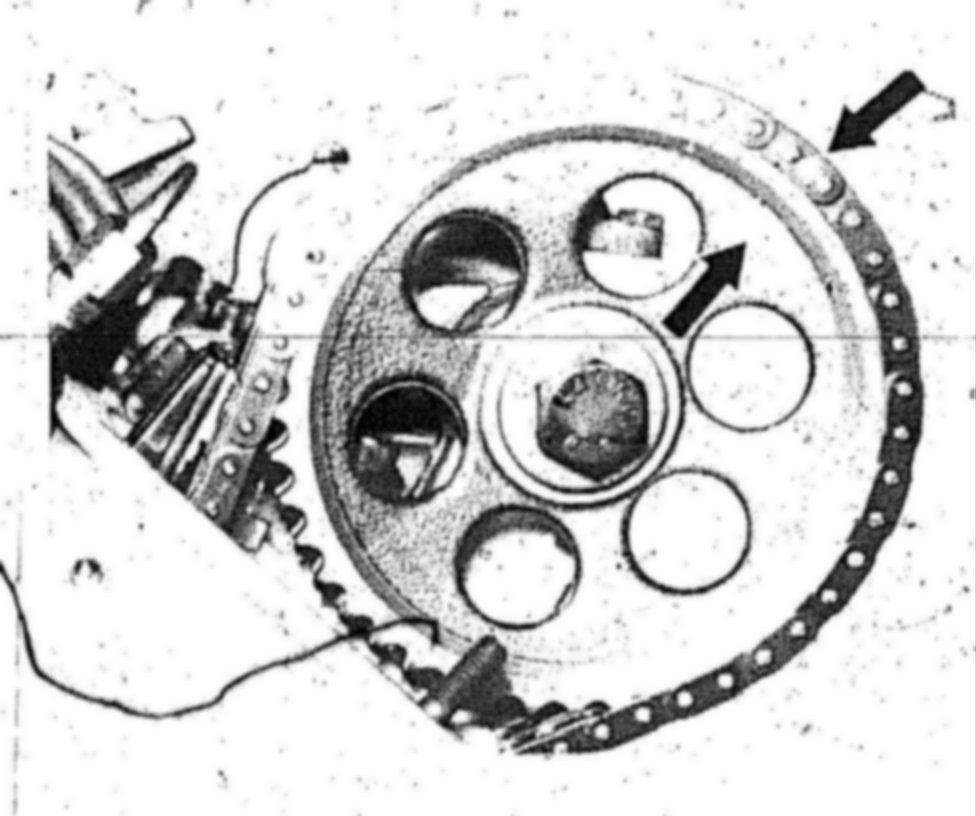
18 Mount camshaft sprocket while paying attention to the color coding (arrows).
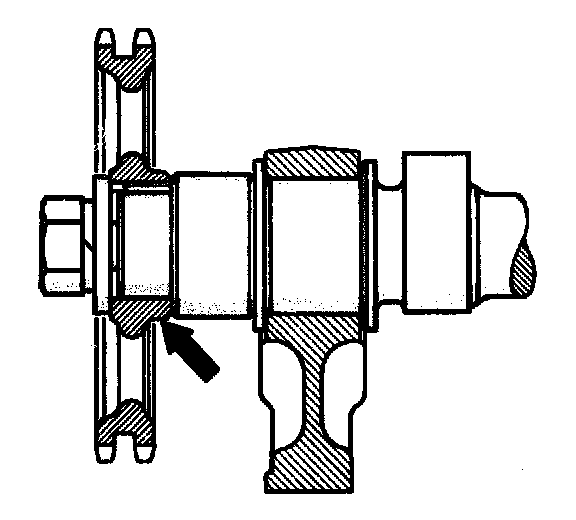
CAUTION: The wide collar on the camshaft sprocket (arrow) should face to the camshaft.
19 Mount bolt with washer and spring washer (arrow).
20 Tighten bolt to 100 Nm while holding the camshafts in place with the retaining wrench.
21 Install rocker arm in the same position as before.
CAUTION: If the rocker arms or the camshaft have been replaced, check basic position of hydraulic valve clearance compensating elements. Service and Repair
22 Complete the engine.