Removal of Intermediate Bearing
Note: The components of propeller shafts are individually pre-balanced at the factory. To eliminate any residual unbalance which might still remain, re-balance the complete propeller shaft including the companion plates. For this reason, when disassembling the complete propeller shaft (e.g. when changing propeller shaft intermediate bearing) mark individual components in relation to each other (if no marks are in place) and reassemble to original shape.
Removal of propeller shaft intermediate bearing
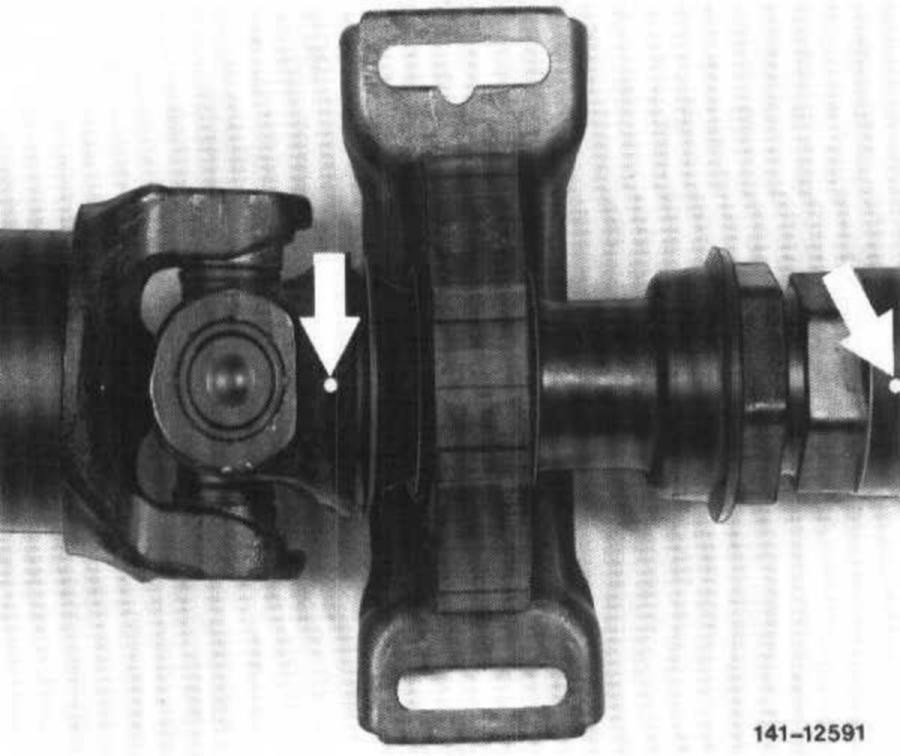
1 On vehicles up to July 1982, mark the individual propeller shaft components in relation to each other (arrows).
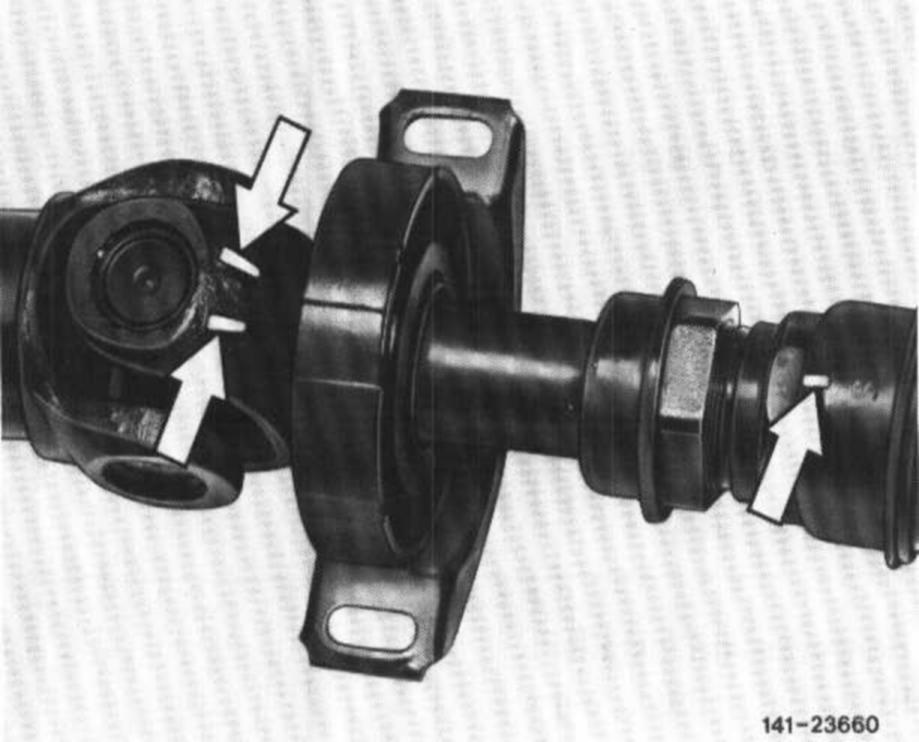
2 On vehicles starting August 1982 the front and the rear propeller shaft are marked in relation to each other (arrows).
Note: The identification has been partially already in place on propeller shafts prior to August 1982, but has not been taken into consideration during assembly. For this reason, propeller shafts on which the marking is not in agreement, must be identified prior to removal and the two parts must be plugged together again following this identification.
3 Separate front and rear propeller shaft on clamping connection.
Rubber Mount With Outer V-fold:
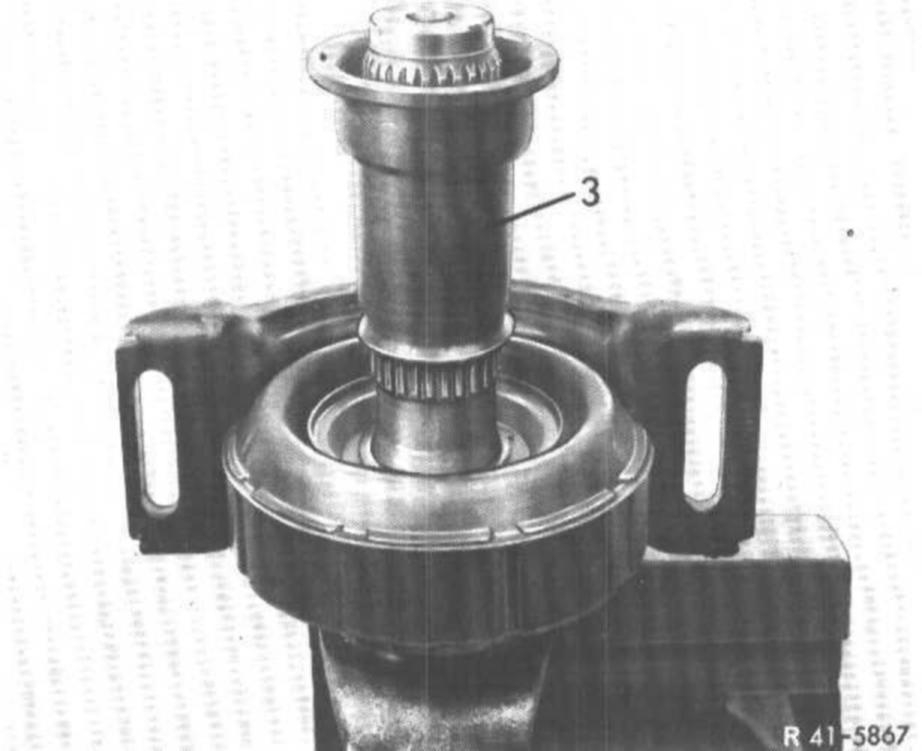
4 Pull off rubber sleeve (3) over splining.
Rubber Mount With Inner V-fold:
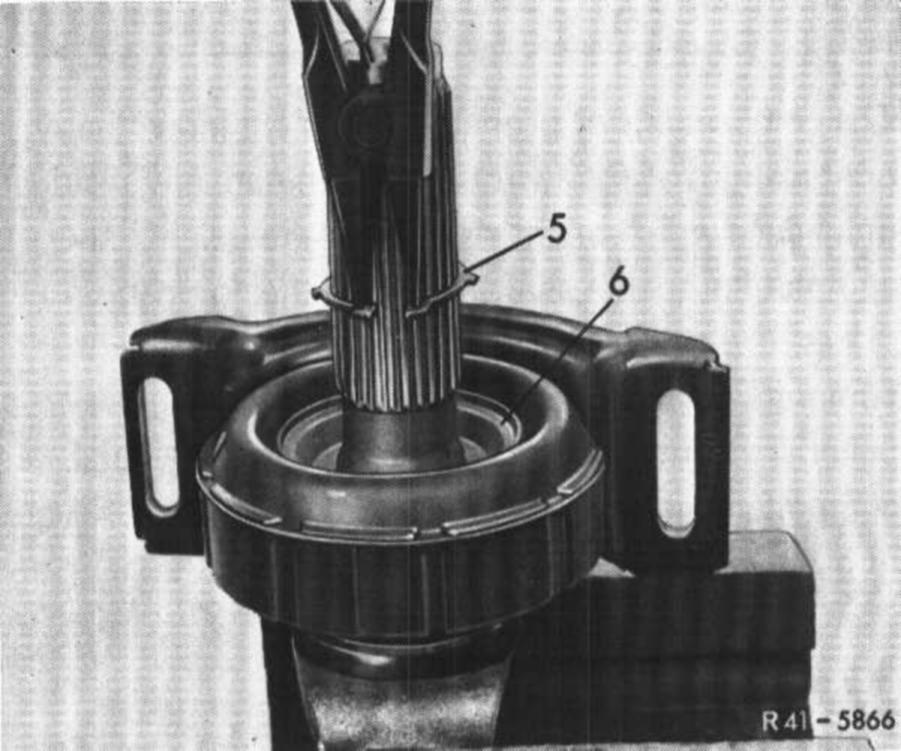
5 On vehicles up to July 1982, remove locking ring (5) from groove and take off together with front protective cap (6).
6 Vehicles starting August 1982 are not provided with a locking ring and for this reason the radial ball bearing is secured by the protective cap.
Rubber Mount With Outer V-fold:
Rubber Mount With Inner V-fold:
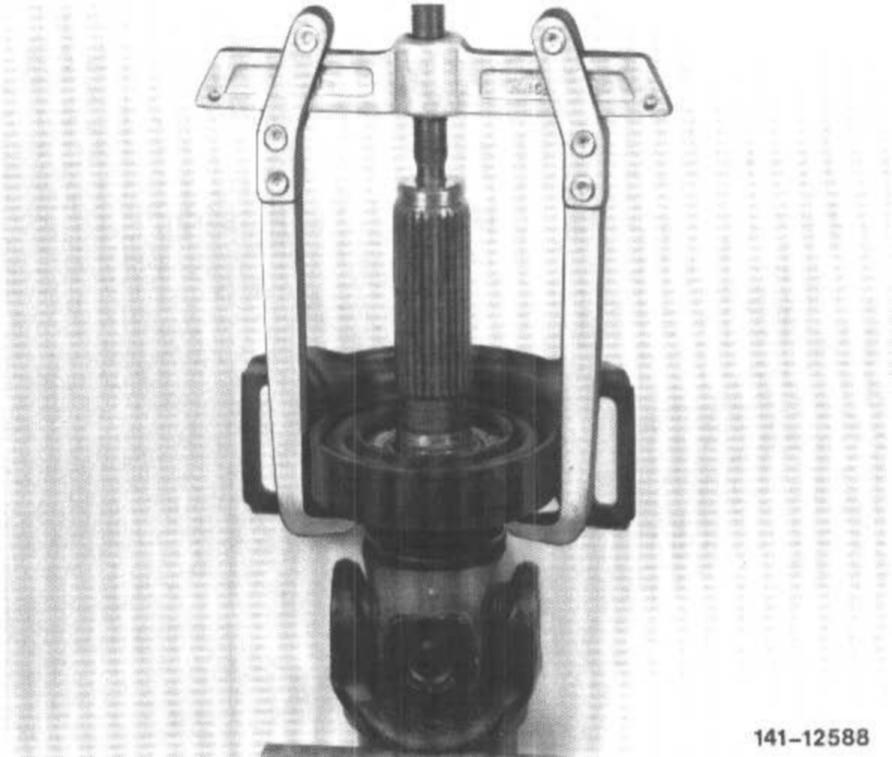
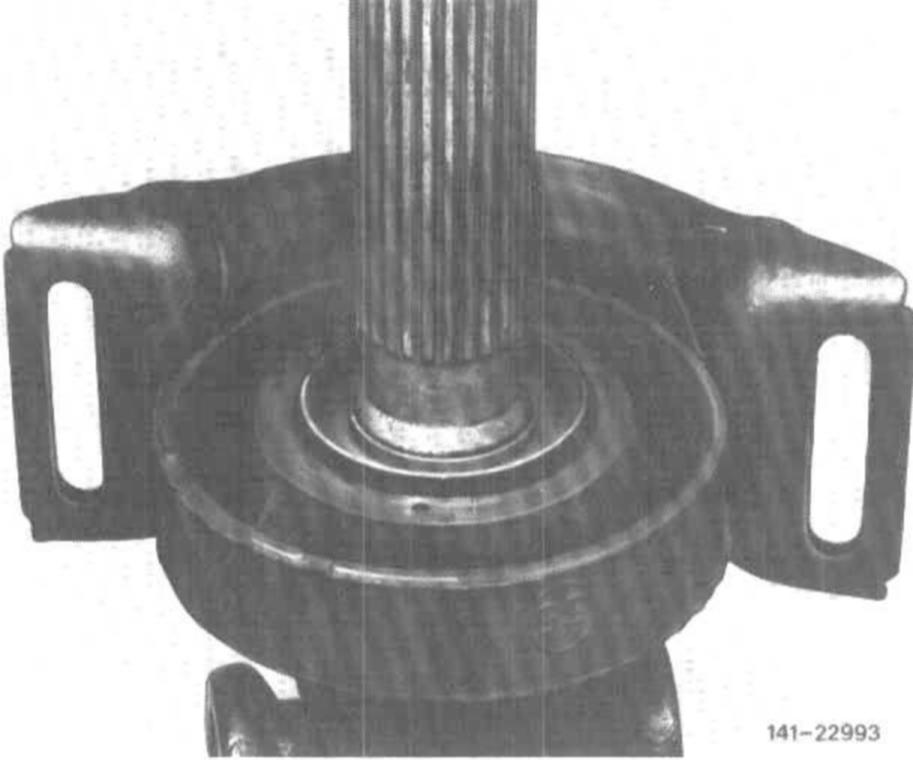
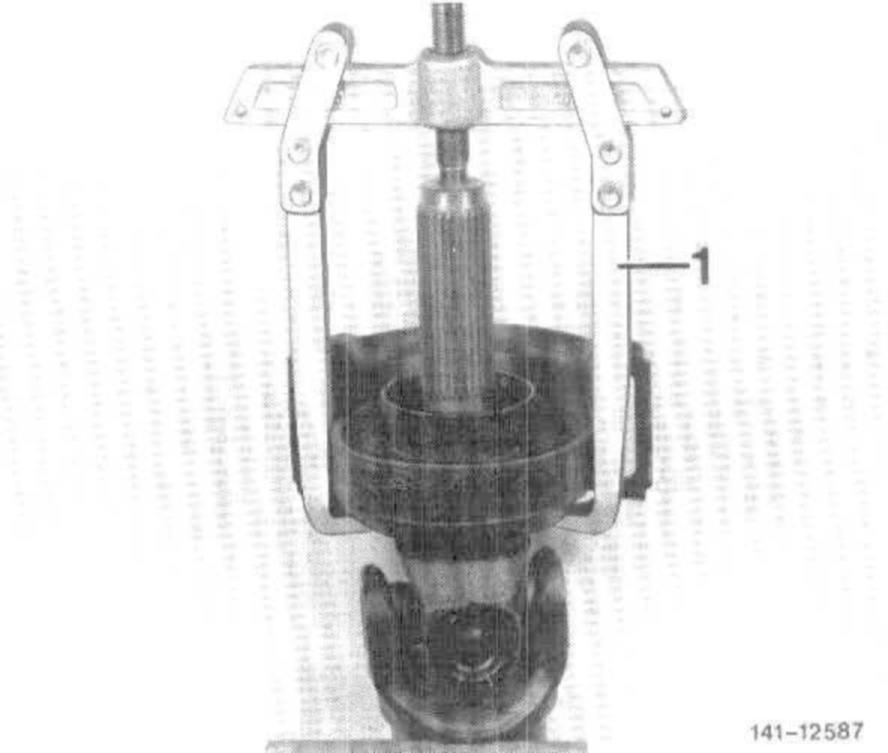
7 On vehicles up to July 1982, pull rubber mount and radial ball bearing together from yoke by means of two-arm puller (1).

8 On vehicles starting August 1982, pull rubber mount, radial ball bearing and protective cap together from yoke by means of two-arm puller.
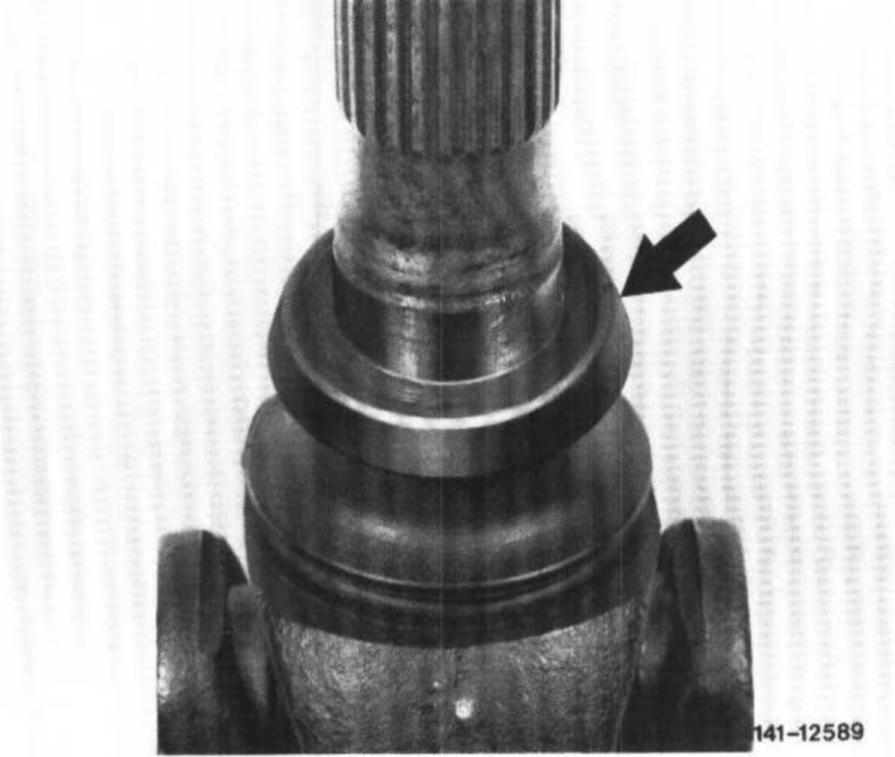
9 Remove rear protective cap on universal joint fork (arrow), (on models 107, 116, 123 and 126 only).