Removal & Installation of Rear Springs
Removal and installation of rear spring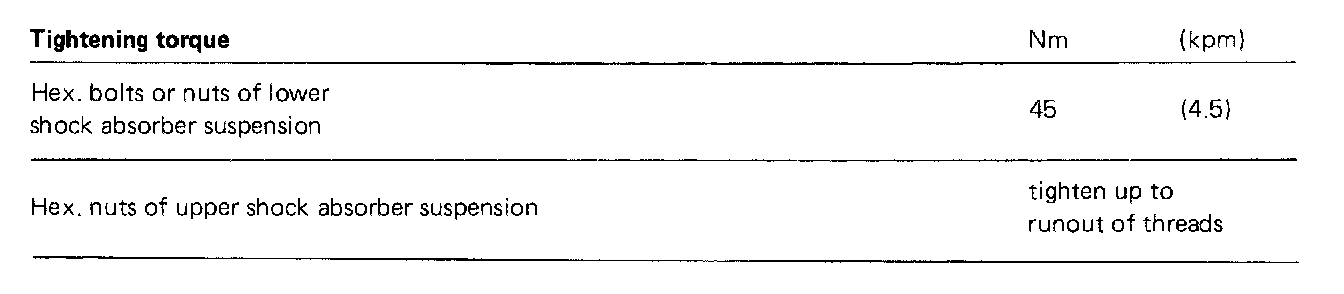

Note: The rear shock absorbers simultaneously serve as deflection stops for the rear wheels. For this reason, only detach shock absorber suspension if the vehicle is standing on its own wheels or it the semitrailing arm is supported. There is a safety stop between the semitrailing arm and the rear axle carrier.
Attention! When removing gas pressure shock absorbers with separating piston or with piston rod mounted at top, with vehicle jacked up and axle half relieved, make sure that the piston rod is not turning along when loosening upper suspension. Since in this condition the resilience stop in shock absorber rests against operating piston, the attachment of operating piston to piston rod may become loose. The gas pressure would then suddenly extend piston rod and the oil in shock absorber would flow out (risk of an accident).
Removal
1. Remove rear shock absorber or spring strut. Make sure that the upper shock absorber suspension is released first.
2. Lift vehicle at the rear.

Spring tensioner for rear spring
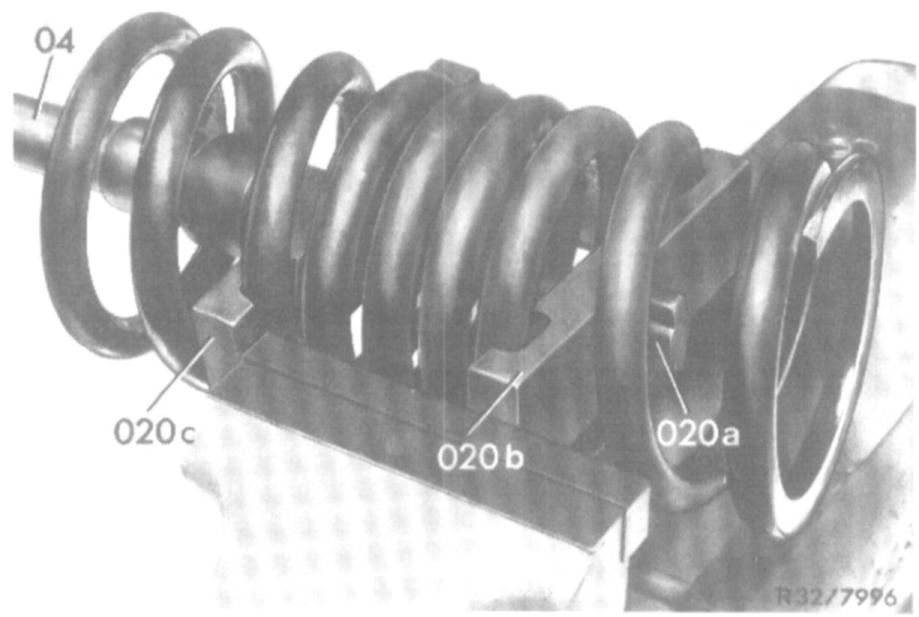
04 Socket
020a Tensioning screw
020b Upper tensioning plate
020c Lower plate
020d Guide sleeve
020e Hex nut
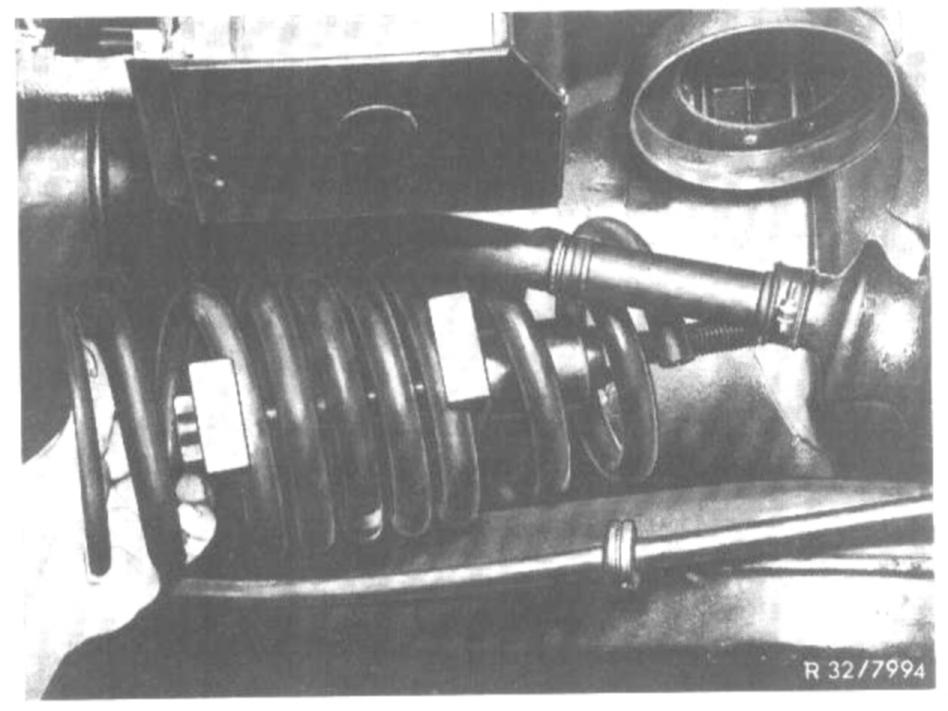
3. Insert tensioning plates of spring tensioner into rear spring in parallel with each other to the extent that 5 coils are included.
04 Socket
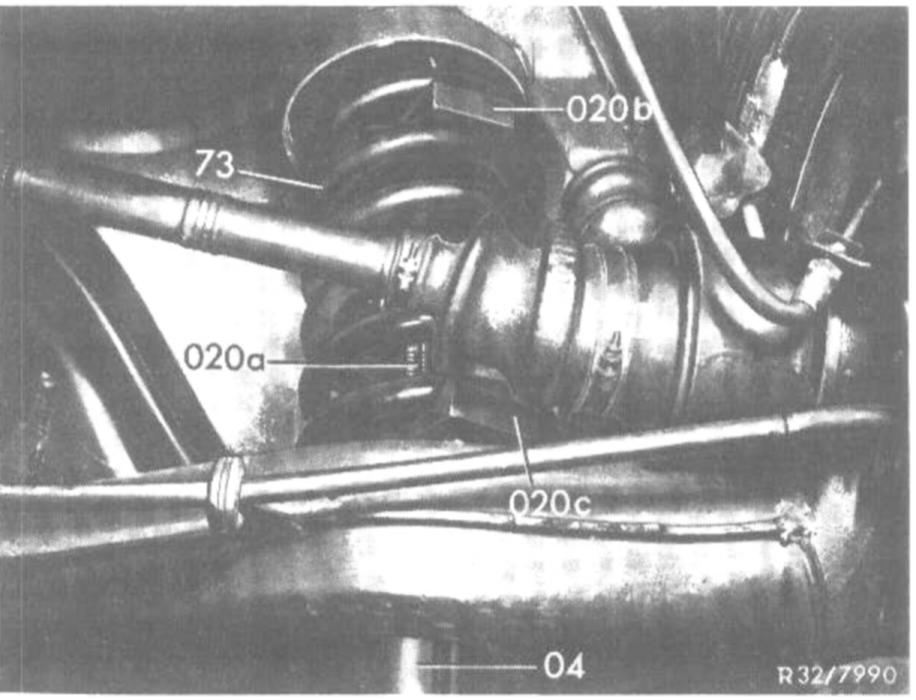
73 Rear spring
020a Tensioning screw
020b Upper tensioning plate
020c Lower tensioning plate
4. Insert tensioning screw through opening in semitrailing arm.
Attention! The webs on tensioning screw and guide sleeve must be correctly seated in grooves of lower and upper tensioning plates.
5. Tension rear spring.
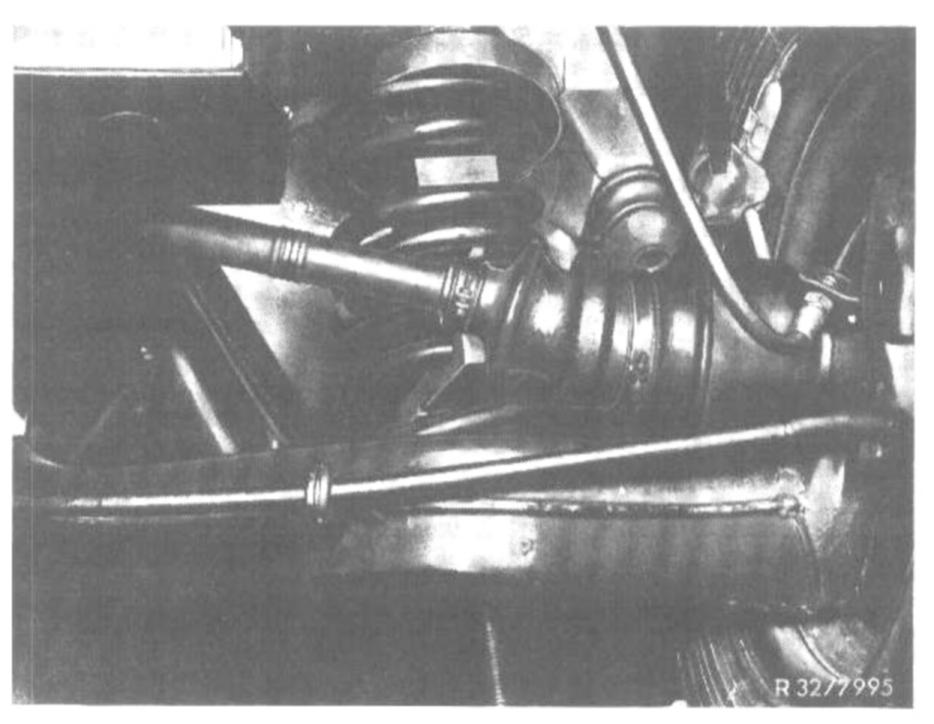
72 Semitrailing arm
73 Rear spring
04 Socket
020 Spring tensioner
029 Intermediate angle bracket
030 Lift or jack cradle
6. Using a pit hoist and the intermediate angle bracket lift control arm approximately to a horizontal position after fitting the clamping plates and the tensioning screw, then compress the rear spring and lower pit hoist carefully until the safety stop of semitrailing arm rests against rear axle carrier.
Pit hoist must be guarded against lateral tilting.
7. Remove rear spring with rubber mount.
04 Socket
020a Tensioning screw
02Gb Upper tensioning plate
020c Lower tensioning plate
8. Insert upper tensioning plate and allow spring to expand.
Installation
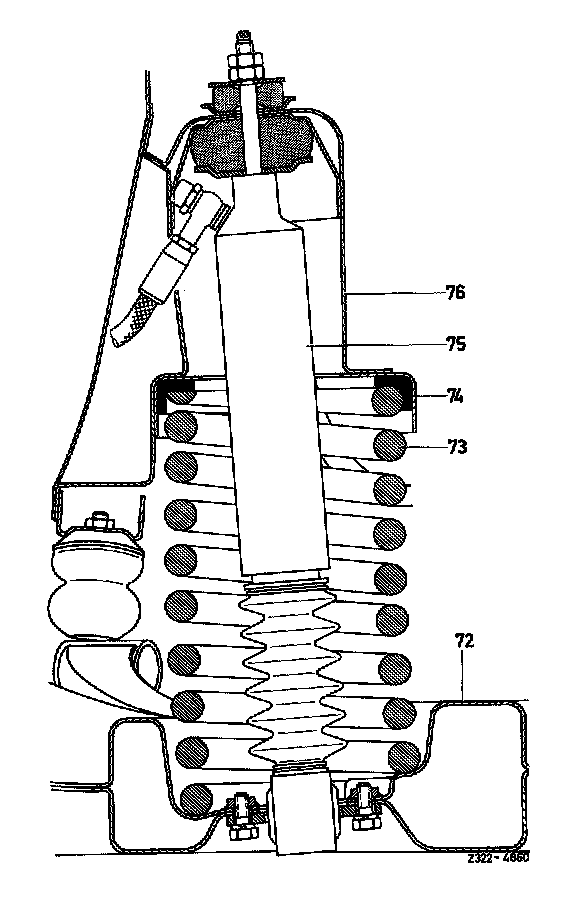
72 Semitrailing arm
73 Rear spring
74 Rubber mount
75 Shock absorber or spring strut
76 Dome on frame floor
9. Tension 5 coils of rear spring.
10. Place rubber mount on rear spring so that the coil end rests on impression of semitrailing arm.
11. Allow spring to expand, taking care that the rubber mount on the frame floor and the coil end on the semitrailing arm are correctly positioned.
12. When using a pit hoist, lift semitrailing arm before allowing spring to expand, then release spring and carefully lower pit hoist.
13. Install rear shock absorber or spring strut. Be sure to attach lower suspension to semitrailing arm first.
14. Lower vehicle.
15. Check position of semitrailing arm on rear axle
16. Check headlight adjustment.