Removal
REMOVAL PROCEDURE:Special Tool #108 589 01 37 00:
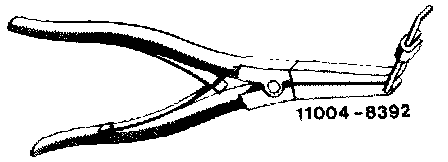
Special Tools: Clip pliers for heater cable controls.
1. Drain approx. 3 liters cooling water.
2. Remove ornamental grille for air inlet on both sides.

3. Loosen hose clamp (1) on both sides and pull-off heater hose.
4. Remove instrument panel.
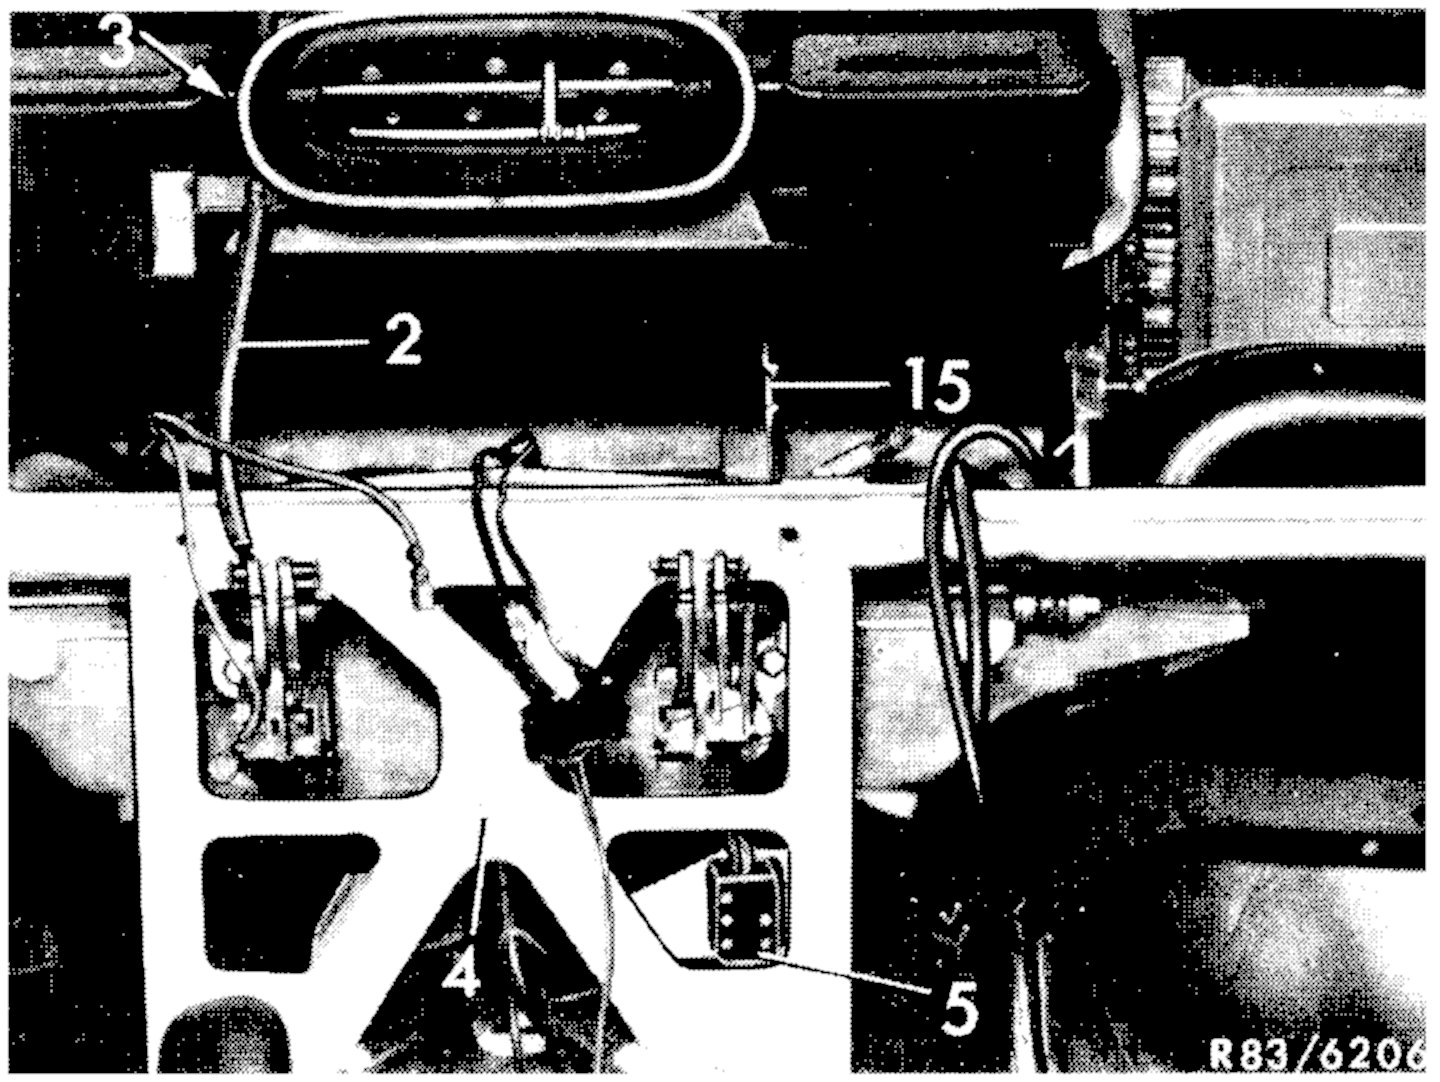
5. Disconnect cable control (2) on flap actuation (3) and remove holding clip.
6. Remove support (4) and disconnect plug connection (5).
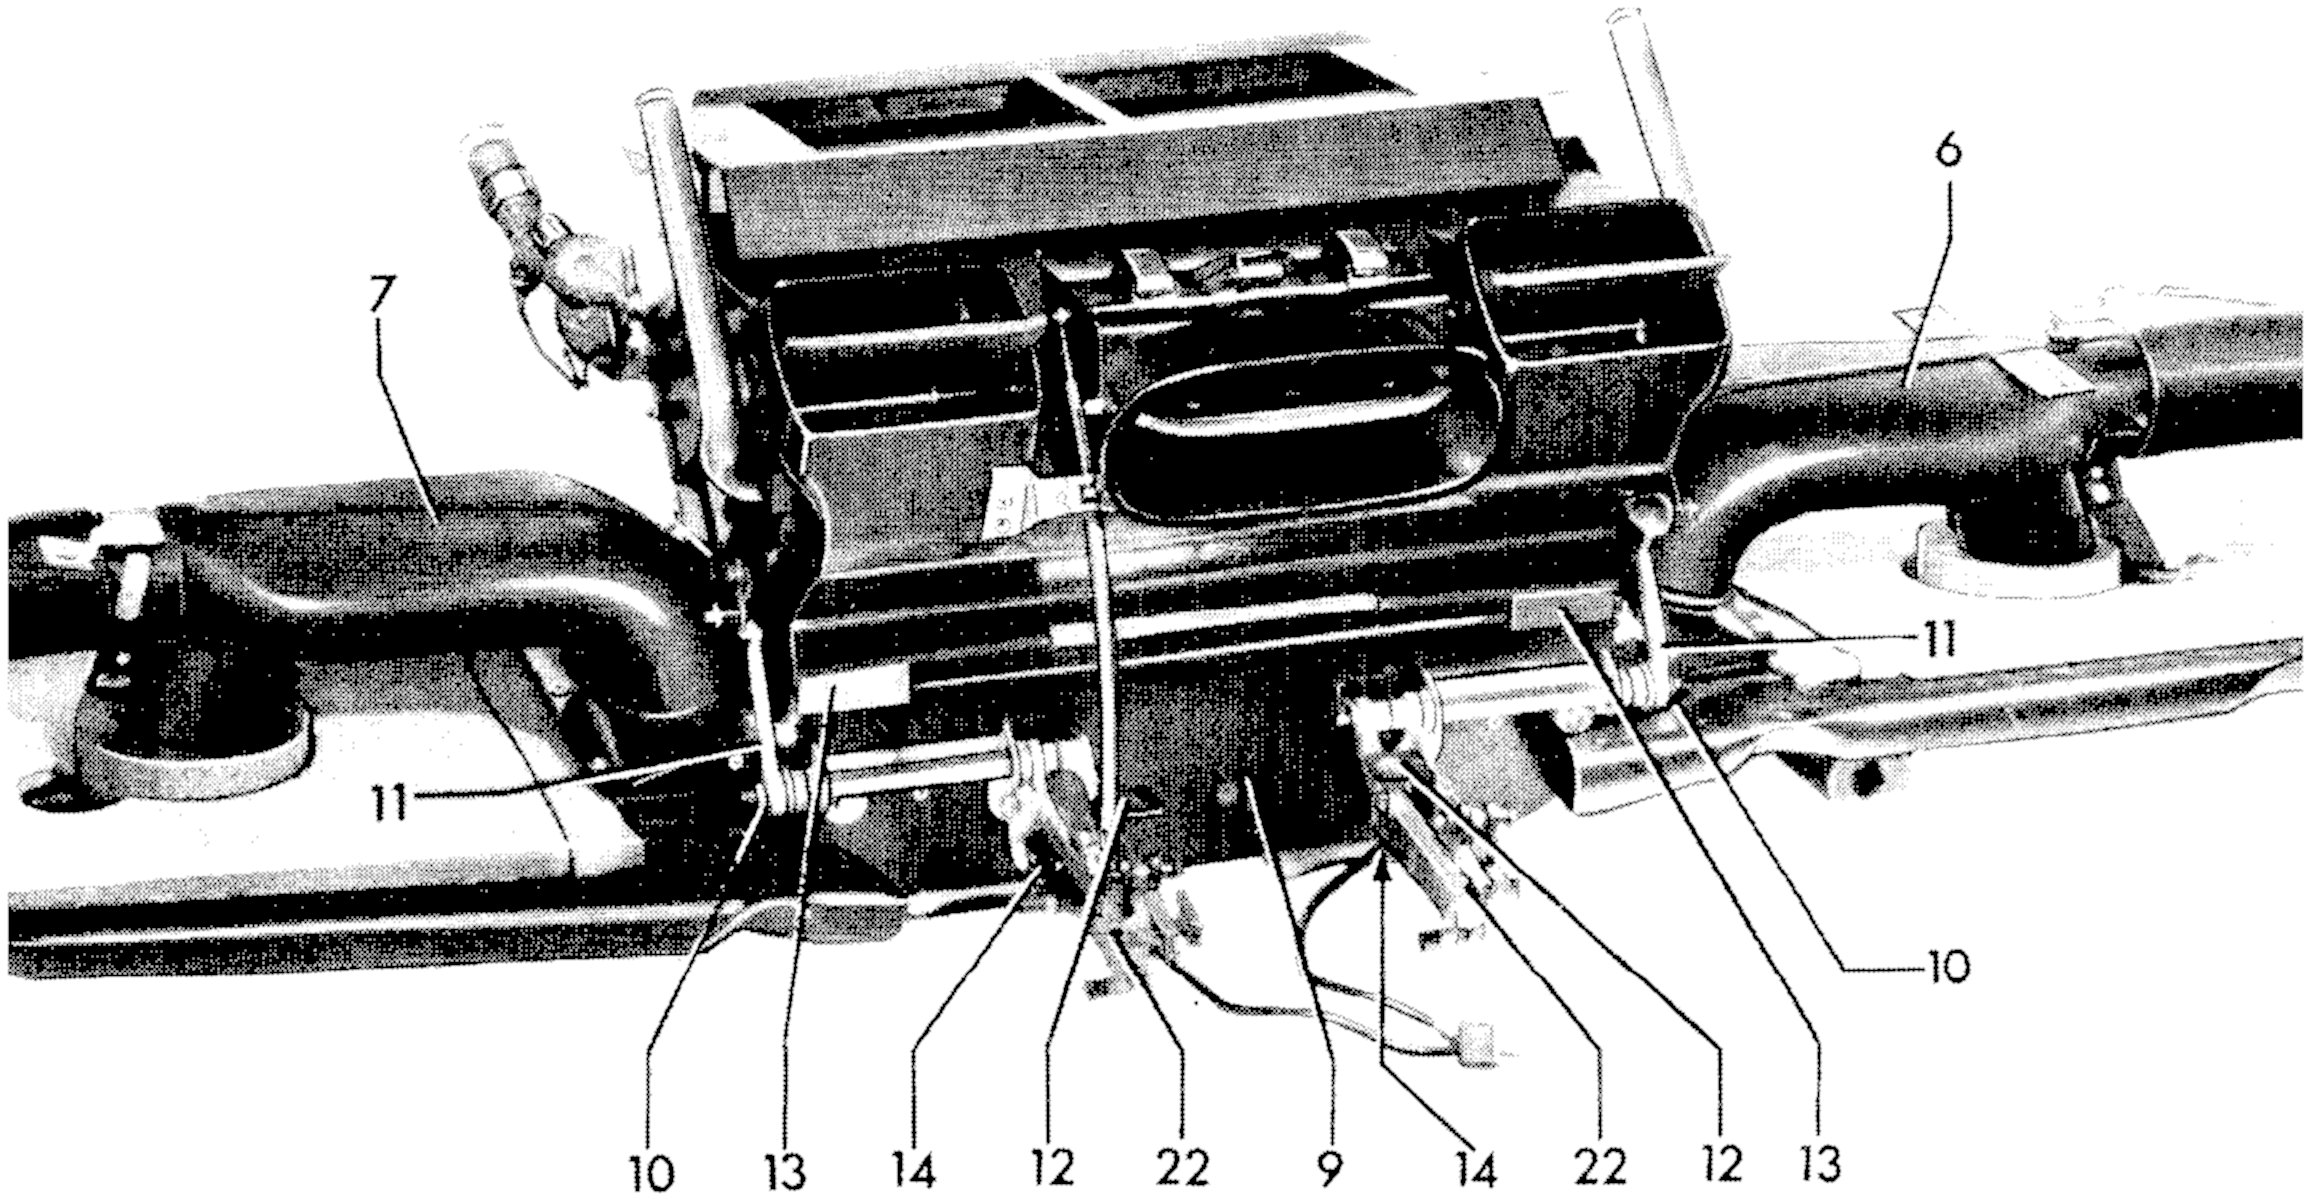
7. Remove right-hand air duct (6).
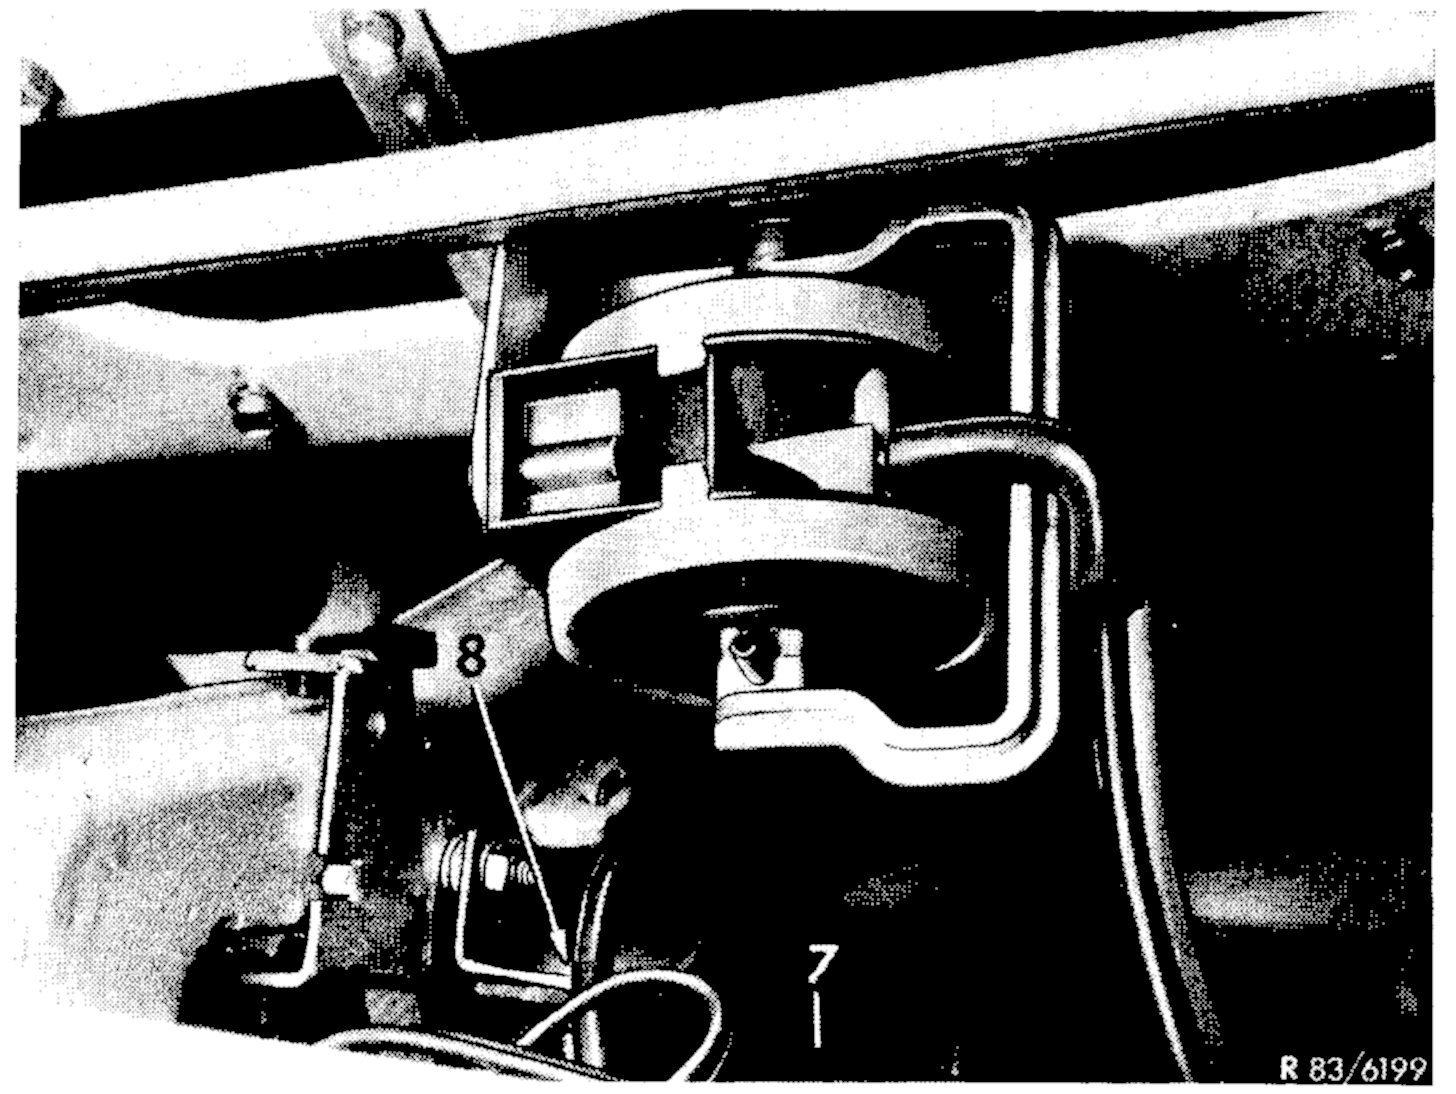
8. Unscrew screw (8) on left-hand air duct (7).
9. Remove left-hand air duct (7).
10. Remove holder between center air duct (9) and tunnel.
11. Loosen nut (10) on both connecting levers (11) and pull connecting lever from shaft including serrated washer.
12. Loosen both holding angles (12) of controls on cross member.
13. Pull out the four clamps (13) on front and rear end toward side.
14. Separate cable to microswitches (14) of controls on plug connection.
15. For automatic transmission only: Loosen one microswitch (14) from controls.
16. Pull out center air duct (9) with controls toward the rear. Remove to the right only on vehicles with automatic transmission.
17. Loosen cable clamps of cable harness on cross member in range of heater box.
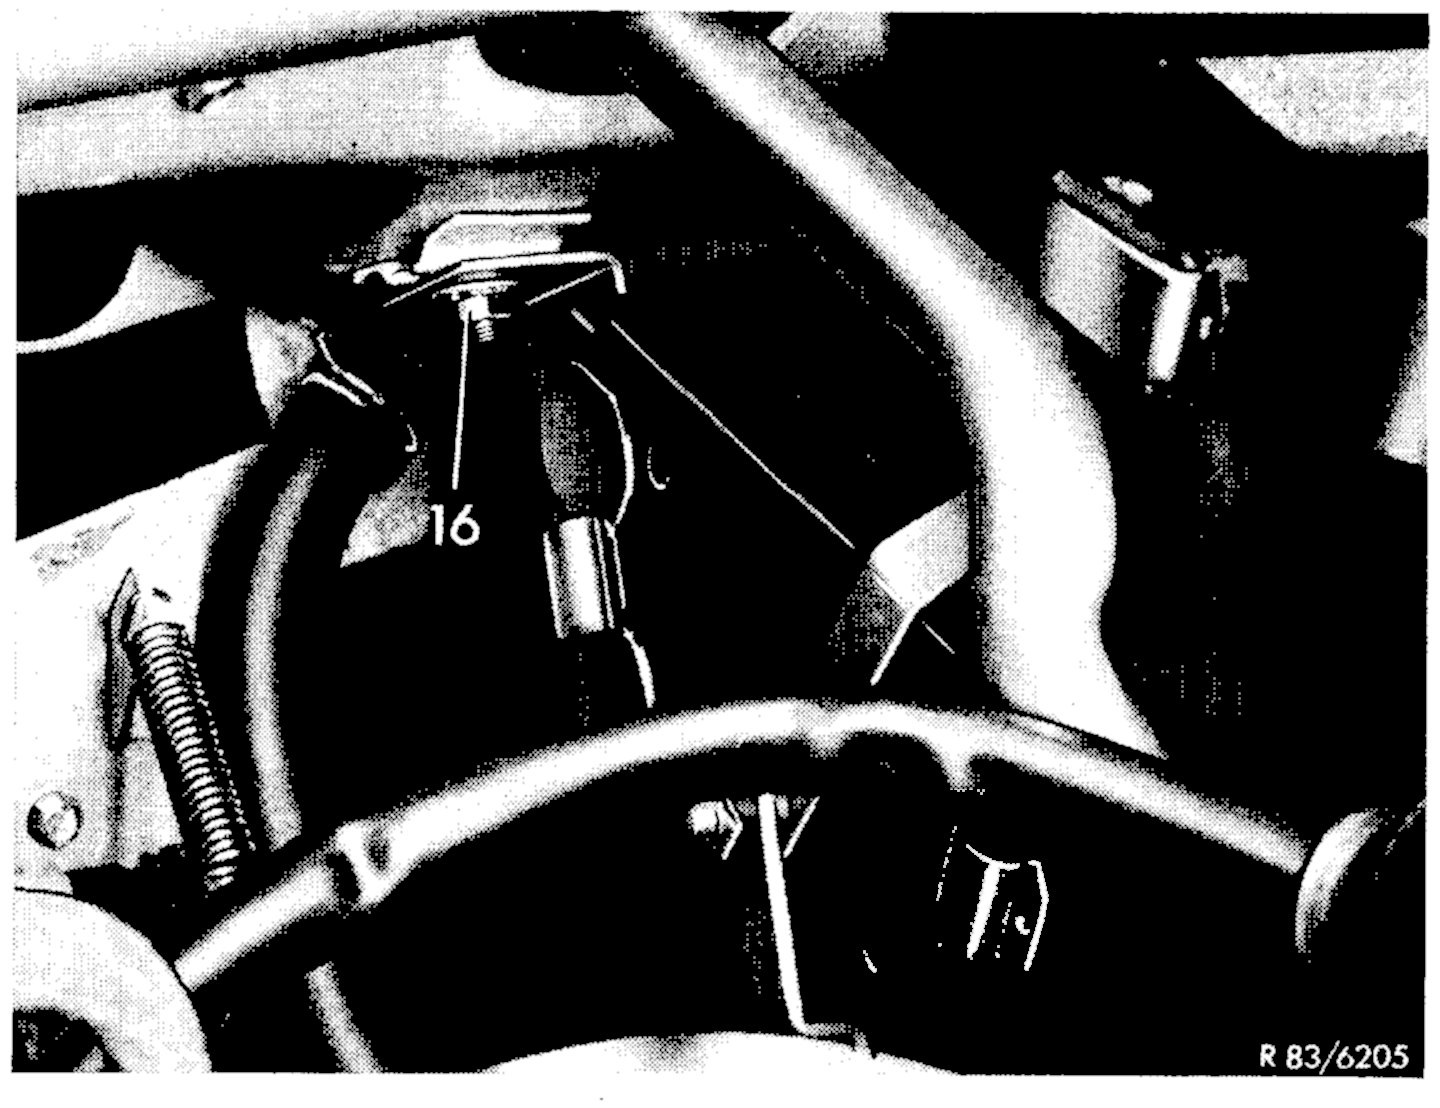
18. Remove radio holder (15) on cross member.
19. Remove control unit for electronic injection system.
20. Loosen both nuts (16) on holders for heater box.
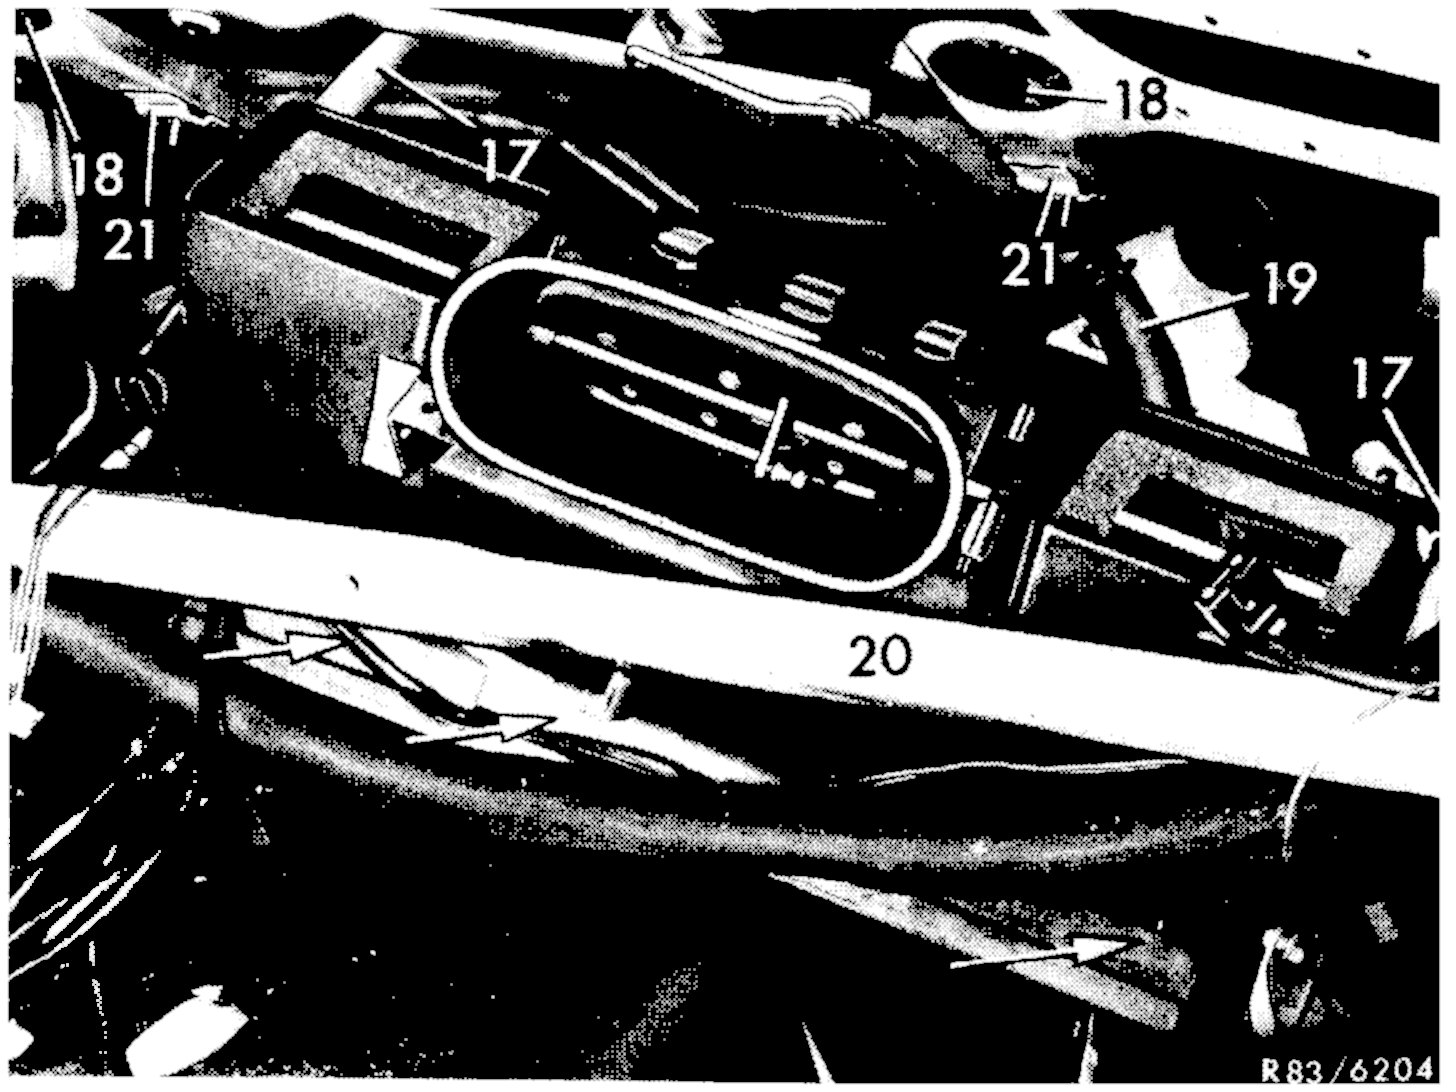
21. Pull heater box back until heater pipes (17) are disconnected from rubber grommets (18) in front wall.
22. Leave main cable harness hanging down and slide heater box toward the right. Make sure that the lower shoulder remains under cross member (20) and the heater box slides past the water drain hose (19).
23. Remove heater box at the right under cross member (20).
NOTE: When removing heater box watch up for cooling water flowing out.
24. Drain heater box and save cooling water with treating agent contained therein.