Rear Crankshaft Main Bearing Seal: Service and Repair
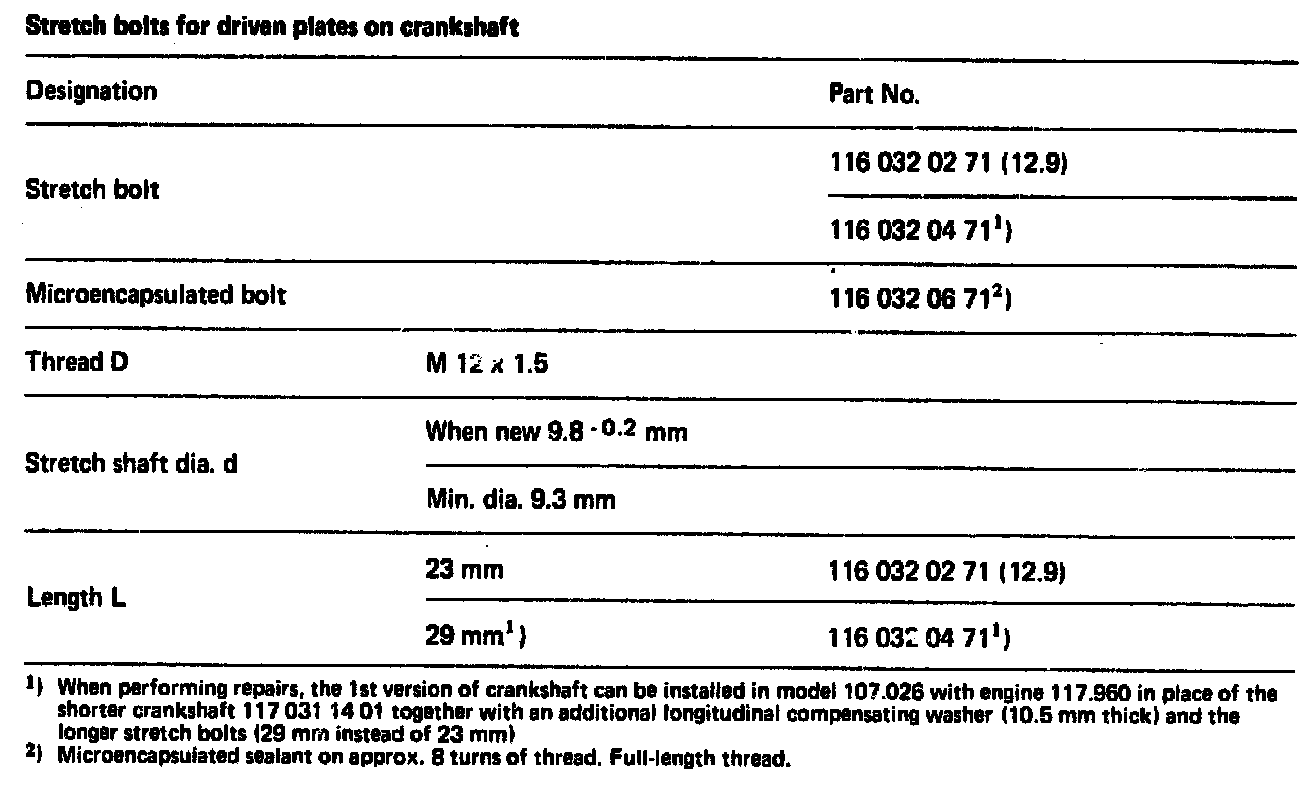
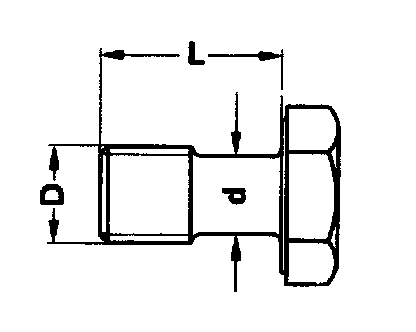
Tightening Specifications:

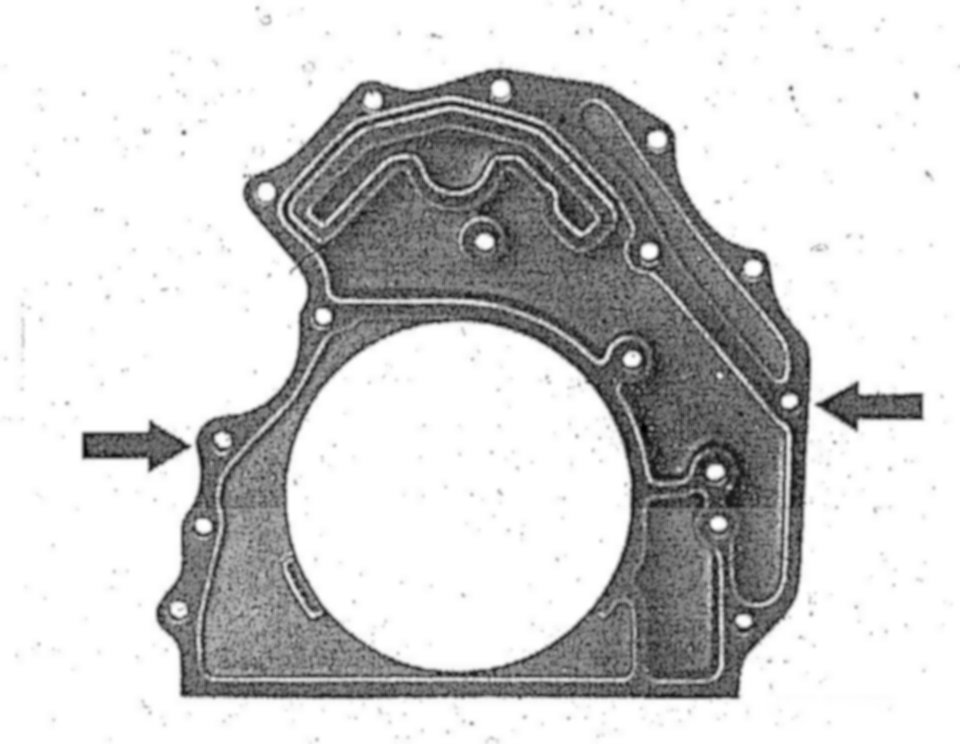
NOTE: The closing cover guides the engine oil from the main oil gallery to the two oil passages for supplying oil to the cylinder heads and is sealed to the crankcase with sealant. For this reason, the radial seal should be replaced without removing the closing cover, if possible.
The running surface for the rear radial sealing ring on the crankshaft is hardened and ground without helix.
If the crankshaft has a groove on the running surface of the sealing ring, a repair stage sealing ring with a sealing lip offset to the inside should be installed.
Standard radial sealing ring (13 mm wide).
Radial sealing ring repair stage (10.5 mm wide) for use with worn crankshaft
If a leak exists at the rear, first of all clean engine and spray dried surrounding area with Mercedes-Benz white contrast spray, Part No. 000 989 03 59. Support engine, run engine and determine leakage point.
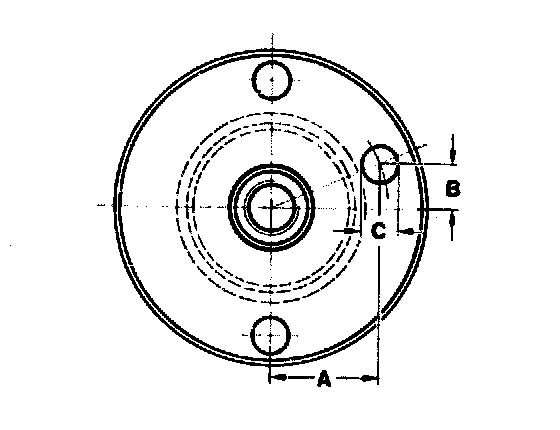
Size A = 38 mm
B = 15.6 mm
C = 10 mm
Use only insertion sleeve 117 589 00 43 00 (2nd version) with hole for fixing pin on engines with fixing pin in crankshaft.
Insertion sleeve 117 589 00 43 00 (1st version) can be modified through hole with the sizes "A, B, C" as shown in image.
Replacing
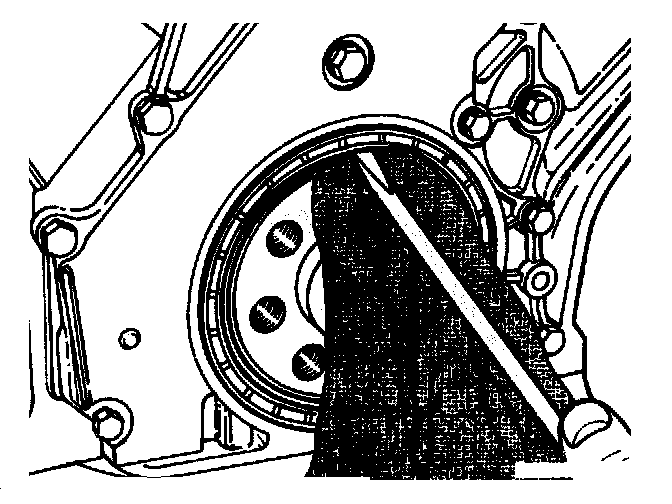
1 Press out radial seal with a screwdriver.
CAUTION: Do not damage crankshaft and mounting hole for radial seal. Use clean cloth as a base.
2 Examine contact surface on crankshaft. If surface has grooves, install repair size radial seal.
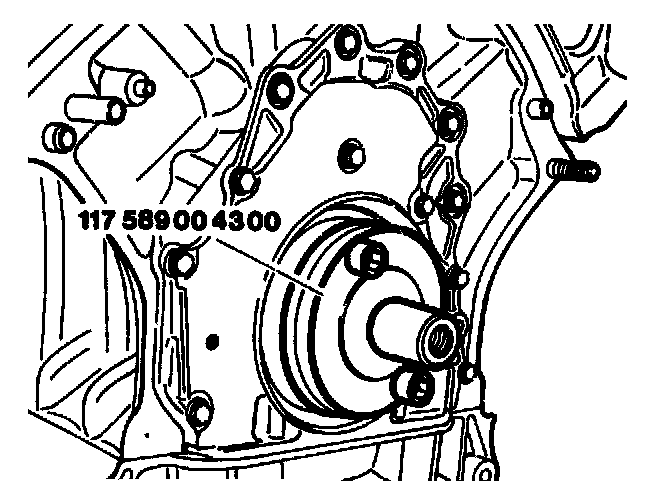
3 Screw inner part of special tool 117 589 00 43 00 onto the crankshaft
4 Coat radial seal with engine oil between dust and sealing lips.
CAUTION: Do no use grease! Grease prevents the sealing lip of the radial seal returning the engine oil.
5 Push radial seal onto inner part of special tool 117 589 00 43 00.
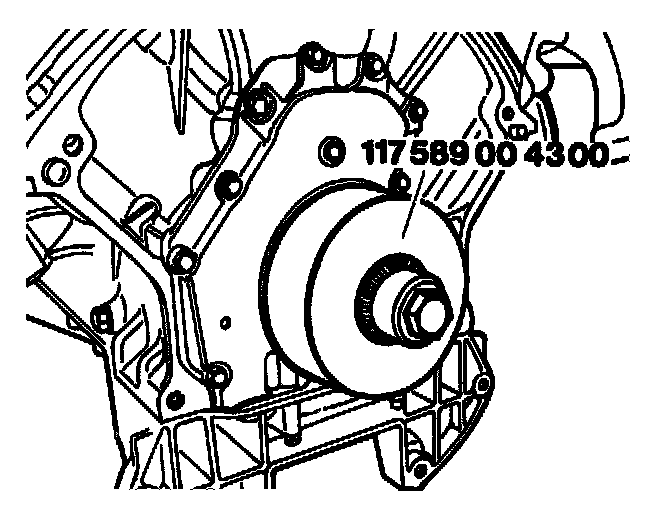
6 Press radial seal into closing cover as far as the stop with the insertion tool 117 589 00 43 00.
NOTE: The dust lip must not be touching the crankshaft otherwise leaks will occur as a result of the pumping effect.
7 Install driven plates in the correct order.
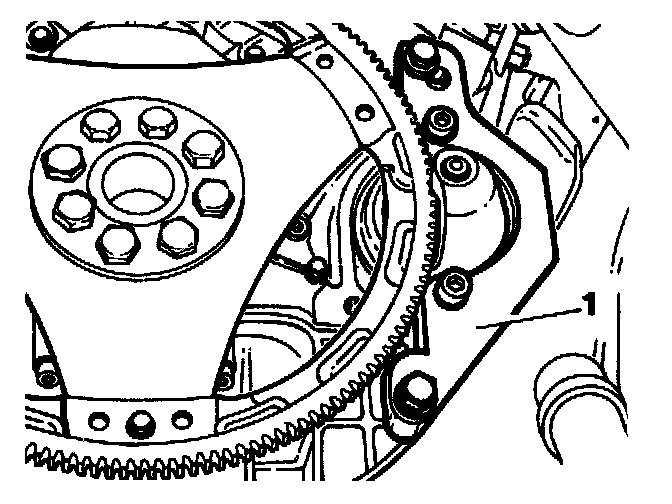
8 Screw starter onto crankcase with bracket (1) special tool 119 589 00 40 00.
9 Support engine in installation position at rear and secure.
10 Check oil level in engine, adjust to correct level.
11 Start engine by bridging the relevant contacts at the unplugged coupling of the starter lockout switch. Check for leaks.